Showing posts with label bite. Show all posts

Tuesday, August 28, 2012

Tie-Dye Cupcakes

I've been absent from the blog for about two weeks, and although it wasn't planned, it was a nice break.  Summer is ending and my junior year of college is starting in just 8 days! Someone please remind me when I turned old? I'm going camping with Kristopher's family for Labor Day weekend, and wanted to get a post up before I leave for 3 days. I am super excited about some upcoming posts this Fall and Winter- I've got a ton planned :)

These cupcakes are super easy and don't require much more than making regular boxed cupcakes- Just a box of food coloring!

Using your choice of vanilla cake mix, make as usual and evenly divide it into as many cups as colors you want in your cupcakes. I did the standard ROY G BIV. Add food coloring to each cup until it is the desired color you want. 
I ended up using more food coloring than what I had originally put in. 

Fill a cupcake tin with liners and drop by the spoonful into each liner. Don't mix the colors in the liners, just drop it in. You can use as much or as little as an colors you want. I tried to put at least a spoonful of each color into every cupcake. Bake according to the directions on the box of cupcakes, and you're finished! These are super easy and fun, and often overlooked or deemed as impossible. Ice them with your choice of icing. My aunt suggested making these for her daughter's birthday snack at school (probably because she doesn't feel like making them herself. lol) but I'm sure those 2nd graders will be surprised when they bite into them!


Monday, July 23, 2012

Cinnamon Bun Meringues


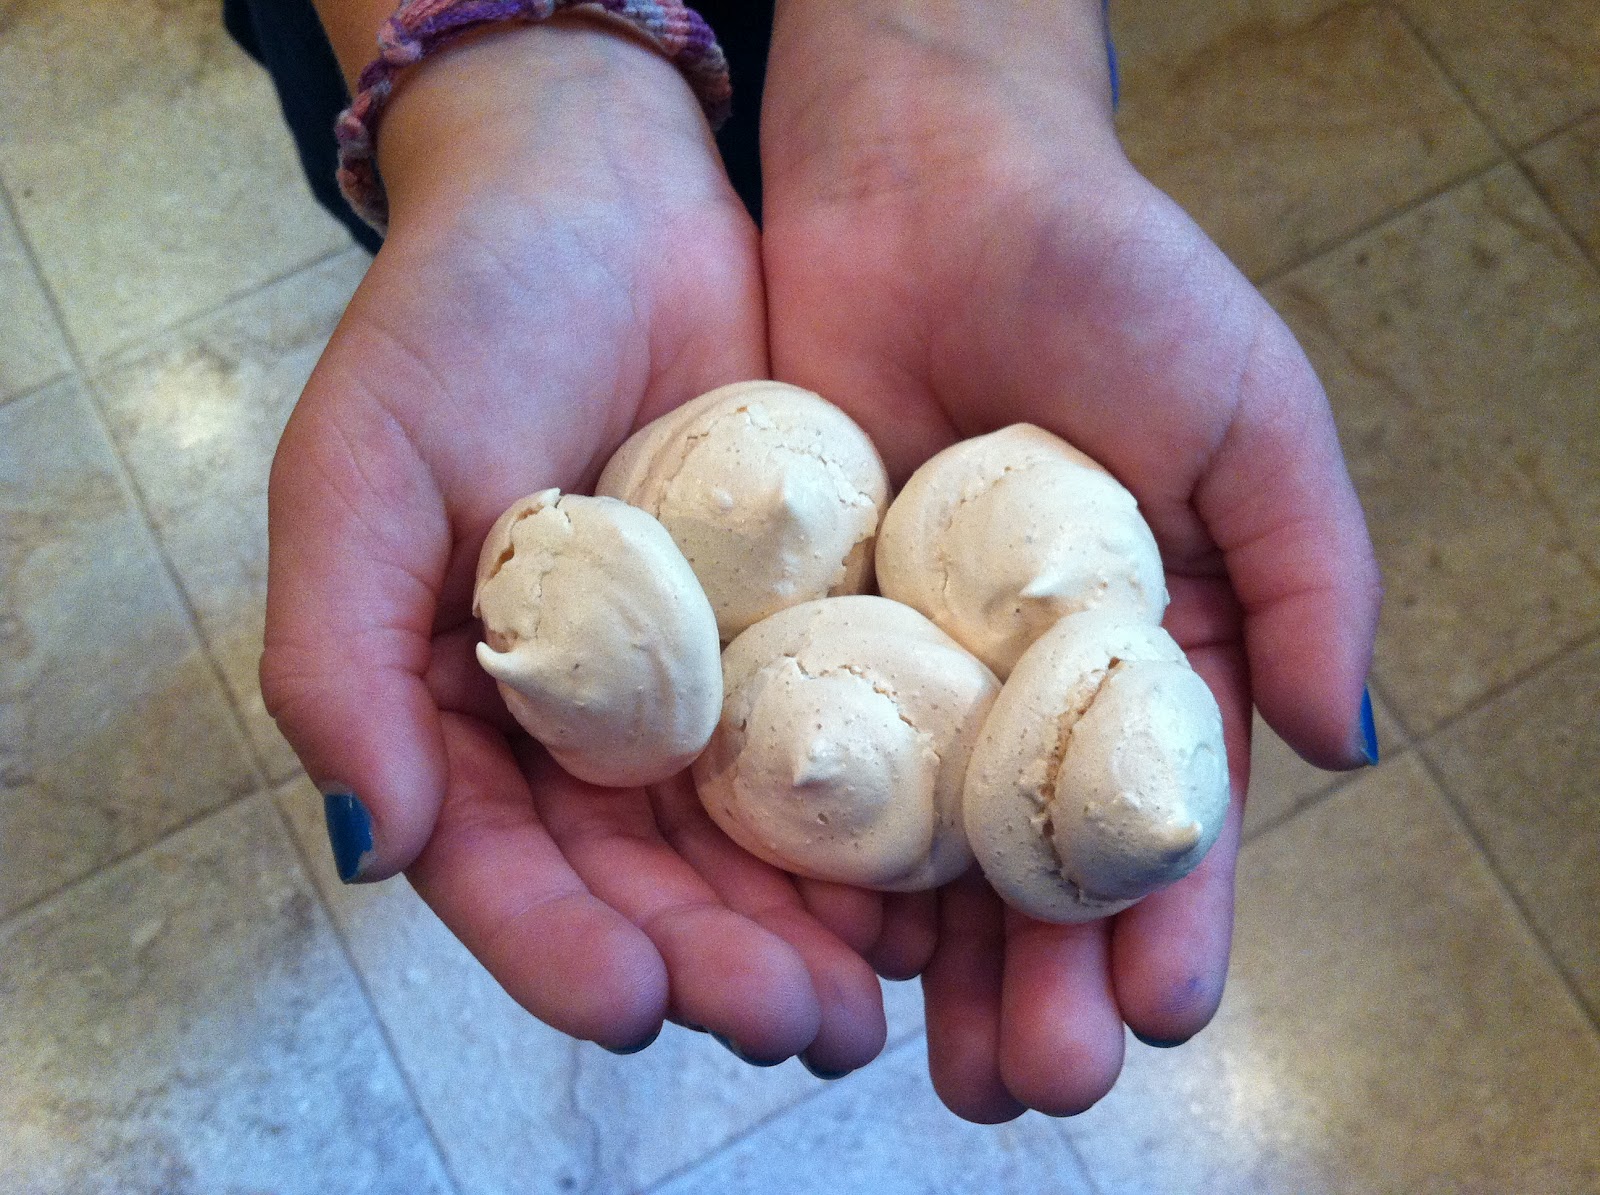
Small, bite-sized desserts win me over. Every. Time. I see an edible food made small, mini, and extra super cute, I want it- and by the hundreds. When deciding what to make for the blog (and my stomach) this week, I went to my gradually growing list of ideas. I felt ambitious and in the mood for something new.  Meringues. I've never even heard of meringue except on my moms favorite lemon meringue pie. Lots of people (aka my mom and boyfriend, Kris) told me how hard these are to make and what a pain in the behind they can be, but I was actually really amazed at how EASY they were.  The hardest part was holding the electric mixer long enough before getting tired.

I was originally going to make regular meringues with a raspberry sauce, upon Kris's request, but saw the Duncan Hines Frosting Creations and came up with a different combination. Cinnamon Bun topped with cream cheese icing.


Excuse the ugly placement of icing. These went super fast in my house so we kept them out on the counter with the jar of icing and a knife and everyone placed their own icing.  Although- I do suggest warming it up so it's drippy and drizzling it over the top of each with a spoon or icing bag.

These are so super easy, but they do take a lot of prep time and baking time, so be prepared.


Here's the recipe for "simple meringues" that I used. I assume it's a universal recipe.  Plus my modifications to the directions.

Simple Meringues

-2 egg whites
-pinch of cream of tarter
-1/2 cup super fine sugar (I used regular granulated sugar and it seemed to work just as well)
-optional: packet of Duncan Hines Cinnamon Bun icing creations

Directions:
1.    Preheat oven to 170 degrees. Line two cookie sheets with parchment paper or aluminum foil. Prepare a piping bag with desired tip.  I used the star, but it seemed to have been a little watery to hold the shape.
2.    Put egg whites in a bowl and beat with an electric mixer on medium until frothy.  Stop the mixer and add the cream of tarter. I used 1/8 teaspoon to be exact.

3.    Continue to beat mixture until soft peaks form. The batter should be thick enough to hold a peak, but it droops over in seconds.
4.    When the batter reaches soft peaks, speed up the mixer to high and gradually add sugar.  This process should take you about 7-9 minutes depending if you used superfine or granulated sugar. Pouring the sugar should take you the enter 7 minutes. I mixed the flavor packet in with the sugar and scooped it in a tablespoon at a time.

5.    Once the batter is shiny and holds peaks, it is ready to be placed into a piping bag. Make sure all sugar is devolved and that the batter doesn't feel grainy. Spoon the mixture into the piping bag, and begin piping small mounds onto the cookie sheets. They should be no taller than an inch high


6.    Bake for 90 minutes in the oven. When the meringues are done, turn the oven off and let them sit for a few hours or over night. I took mine out an extent them sit on my table to cool COMPLETELY...except for the few we ate straight out of the oven. 
After cooled, heat up cream cheese icing in the microwave and drizzle over meringues. Let dry completely and store in an air tight container for a few days.

Thursday, July 12, 2012

Reinventing the Candy Bar: Almond Joy

Ever since I was old enough to know how much Christmas Shopping my Mom ACTUALLY does, we've made it our little tradition to wake up super early on Black Friday and head out for a full day worth of sale shopping. We shop, chat, strategize, and eat. We usually get coffee and hot chocolate in the morning and eat a big lunch during the day, and snack here and there while we're out. My mom and I have very similar likes when it comes to chocolate-y snacks. Raspberry-filled, chocolate covered, nutty, caramel, something or other shoved into a candy bar has our name alllllll over it. So when I decided to start the "Reinventing the Candy Bar" series, (in which the candy bar itself is used in a recipe, or the inner ingredients are used separately), I immediately thought of my mom's favorite, Almond Joy.

Coconut, almonds and chocolate wrapped in one delicious bar. How irresistible?!? I decided to wedge all of this in between pretzels.  YES. PRETZELS. There isn't really a set recipe of exact measurements for this, it just depends on personal taste. I like more coconut, so ya know what? I added more coconut.
Waffle pretzels all lined up- courtesy of Maddie!

Melted 2 Large bars of Hershey's Dark Chocolate over the stove and added coconut and chopped almonds. (heavy on the coconut, this made about 40 bites)

Scooped it onto a pretzel and placed another pretzel on top. Threw these babies in the fridge for half an hour so the chocolate could set and....

Serious Heaven. 

I left for my boyfriends house an hour away for the night, and by the time I got home the next day, half the tray was gone. Here's just a quick little overview of how to make Almond Joy Pretzel Bites

Ingredients: 
1 Bag of Waffle Pretzels
2 Large Hershey Bars- Milk or Dark Chocolate
Shredded Coconut
Chopped Almonds

Directions: 
1. Melt chocolate bars over the stove until completely melted. 
2. Add coconut and almonds to the melted chocolate. As much or as little of each as you prefer. 
3. Scoop by the teaspoon onto waffle pretzels and sandwich it together with a second pretzel. 
4. Refrigerate to harden center. 
 5. ENJOY!!